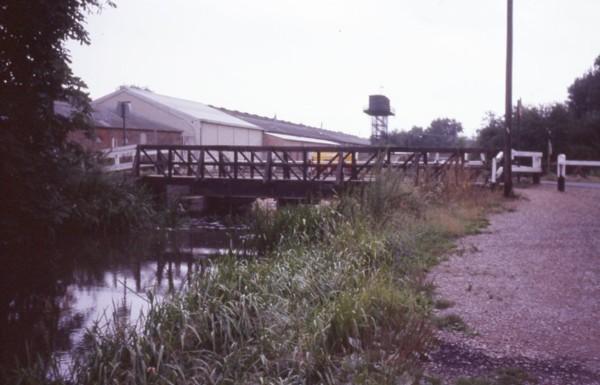
The original derelict Aldermaston Swingbridge, 1979.
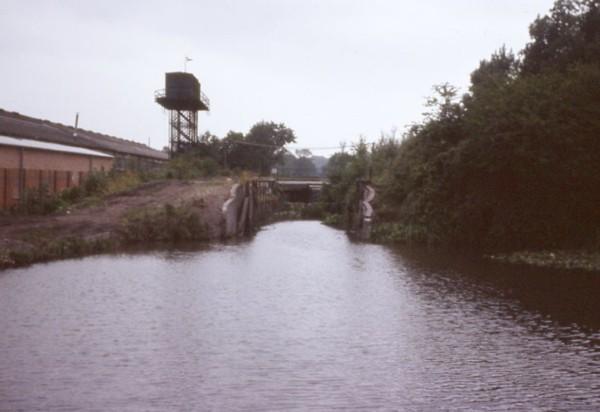
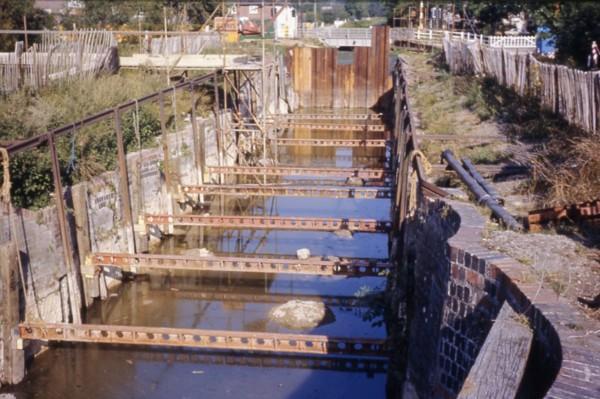
The derelict Aldermaston Lock 95 from below, 1979.
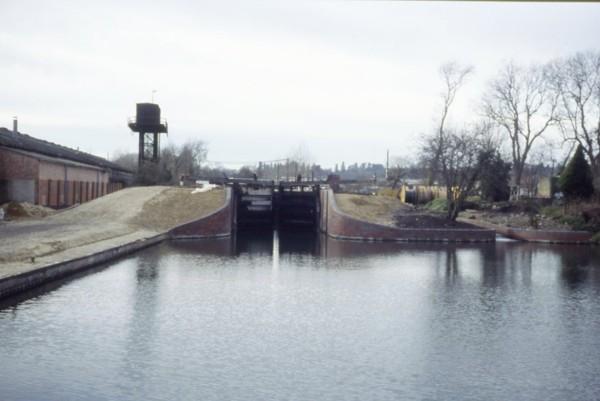
The restored Aldermaston Lock 95 from below, 1985.
The derelict Aldermaston Lock 95 from above, 1979.

The derelict Aldermaston Lock 95 from above, with the new Aldermaston Lift Bridge in the distance, 1982.
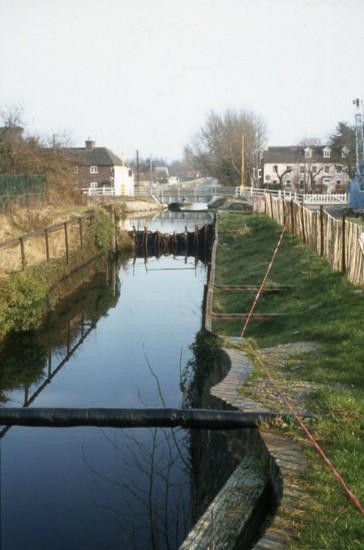
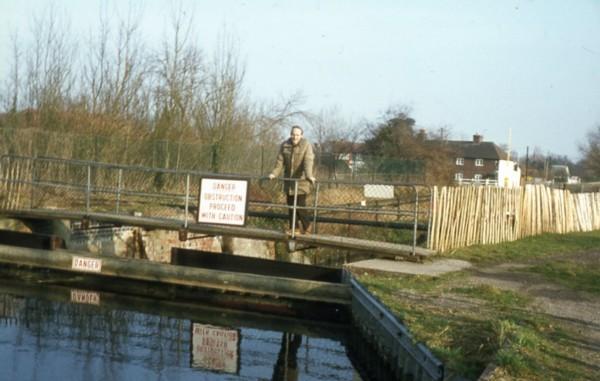
The derelict Aldermaston Lock 95 from above, 1983.
Work about to start.
Aldermaston Lock 95 from above, with work in progress, 1984.
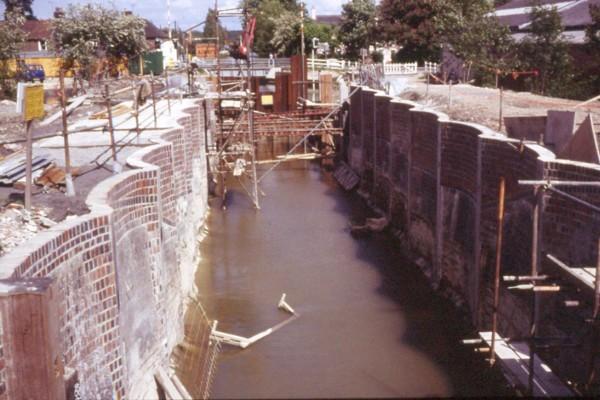
Aldermaston Lock 95 from above, with
work in progress, 1984.
Lock walls almost complete
Aldermaston Lock 95, almost finished, 1984.
The line of original brickwork is delineated by blue bricks
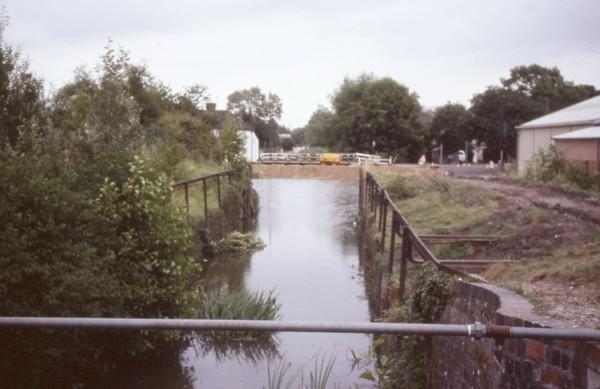
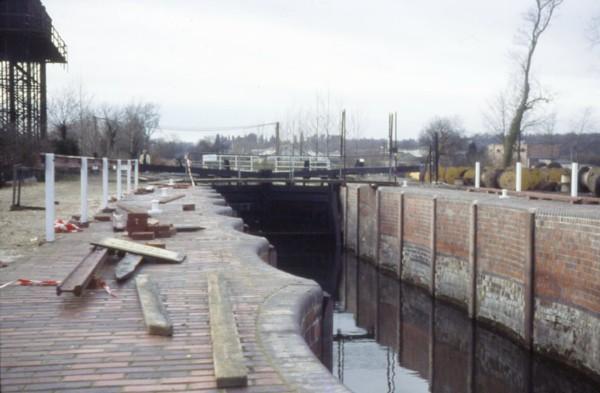
The forebay of the derelict Aldermaston Lock 95, 1983.
A rare photo of the author!