Site of Gennets Bridge Lock 8, 2013

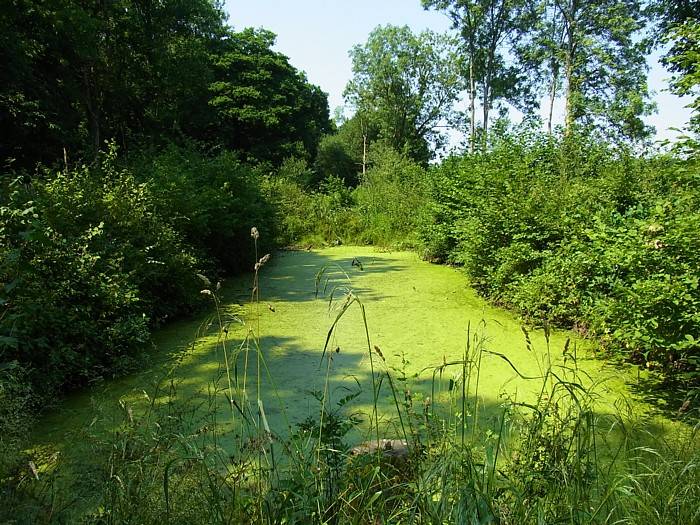
Canal bed below Gennets Bridge Lock, 2013
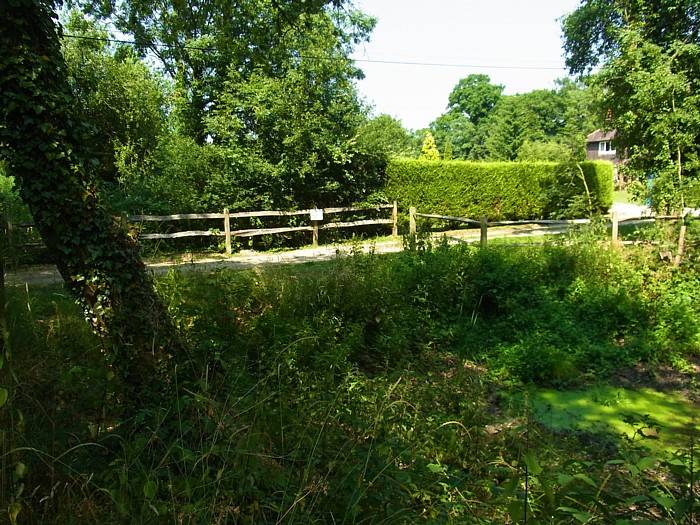
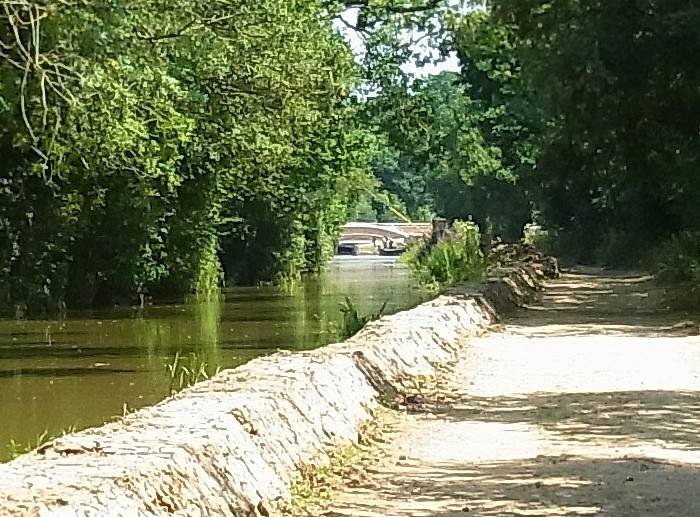
Causeway above Southland Lock where a swingbridge is to be built, 2013
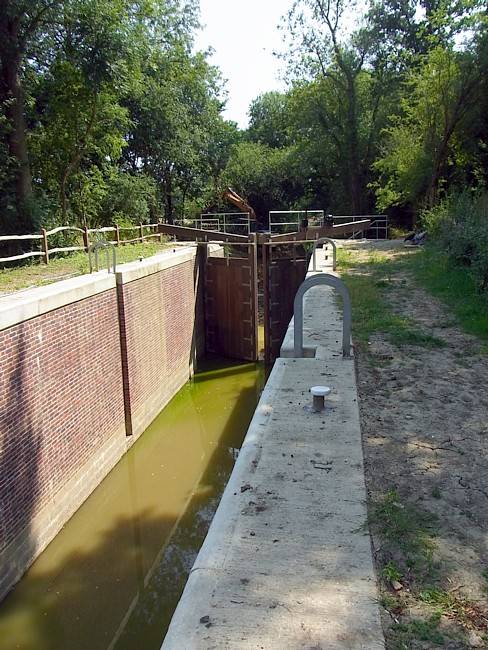
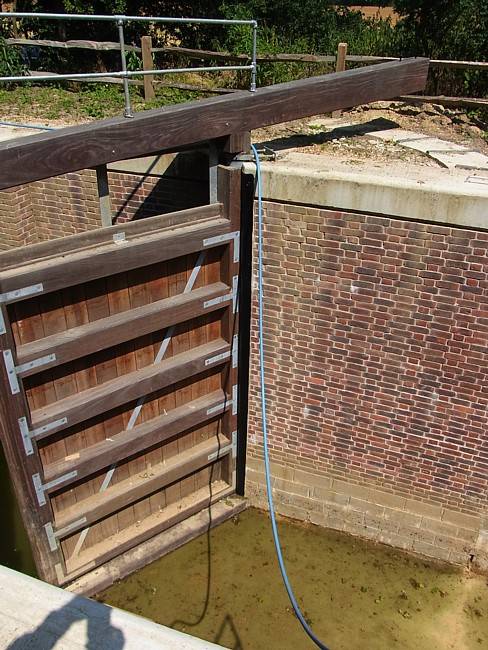
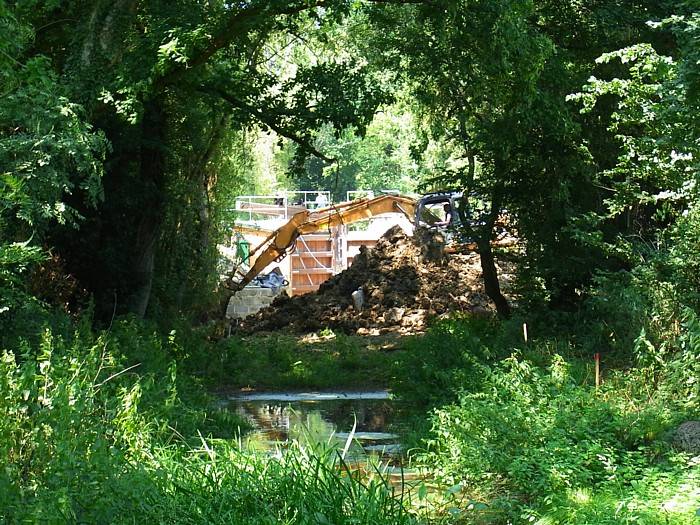
Southland Lock 7 being rebuilt, 2013
Southland Lock 7 being rebuilt, 2013
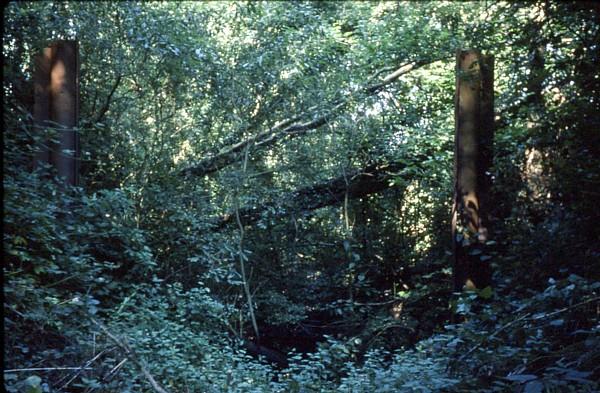
Remains of gate quoins, Southland Lock 7, 1979
The quoins were removed and reused in the new lock, 2013
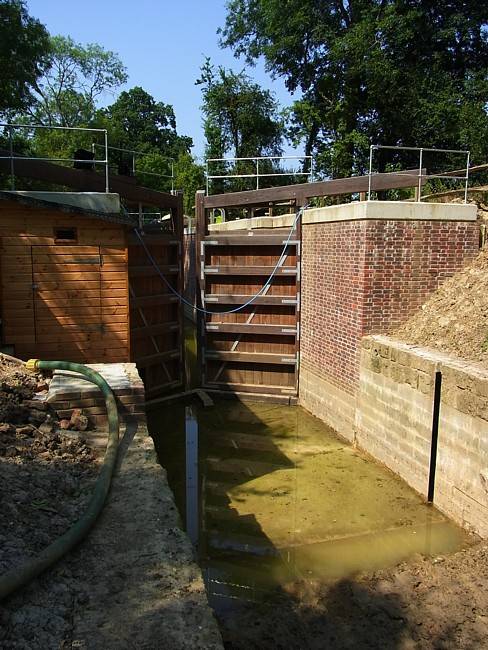
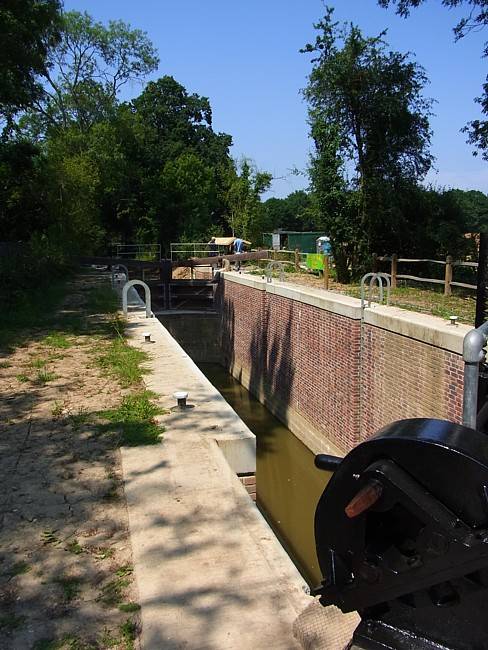
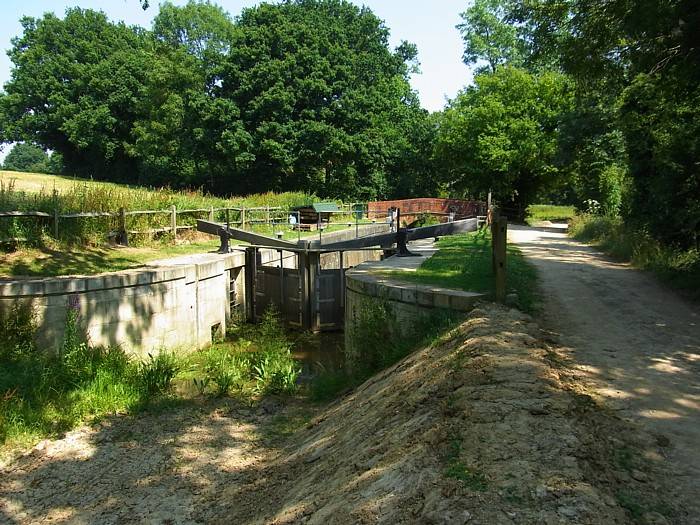
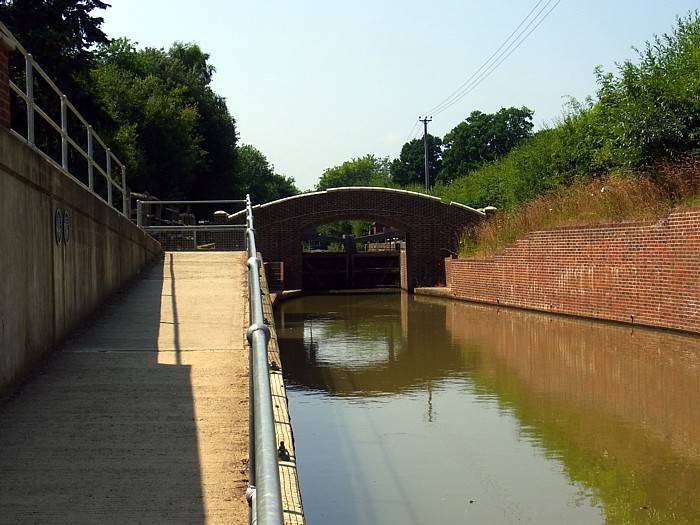
The new lock from below, 2013
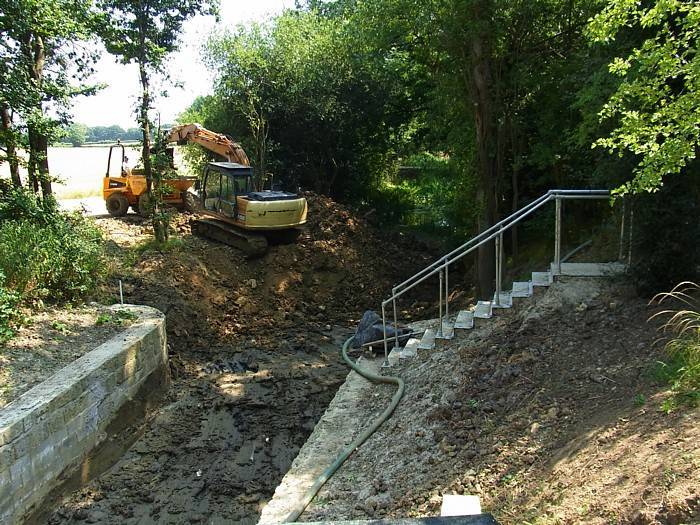
Work in progress below Southland Lock, 2013
Work in progress below Southland Lock, 2013

Work in progress below Southland Lock, 2013
Devil's Hole Lock 6, 2013

Devil's Hole Lock 6, 2013
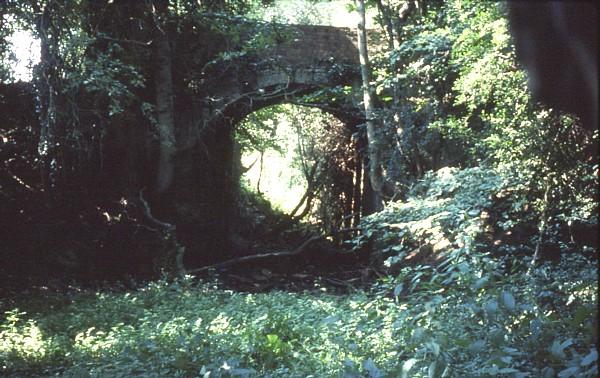
Bridge at Devil's Hole Lock 6, 1979
At the time the lock chamber was half gone
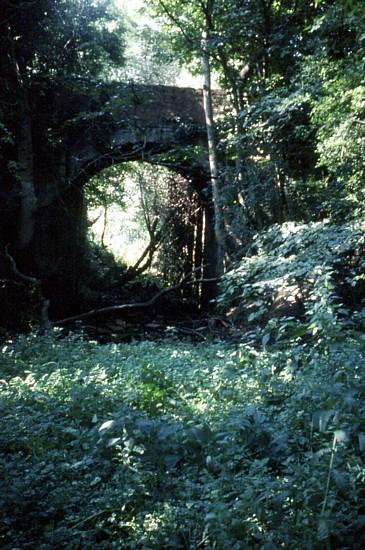
Bridge at Devil's Hole Lock 6, 1979
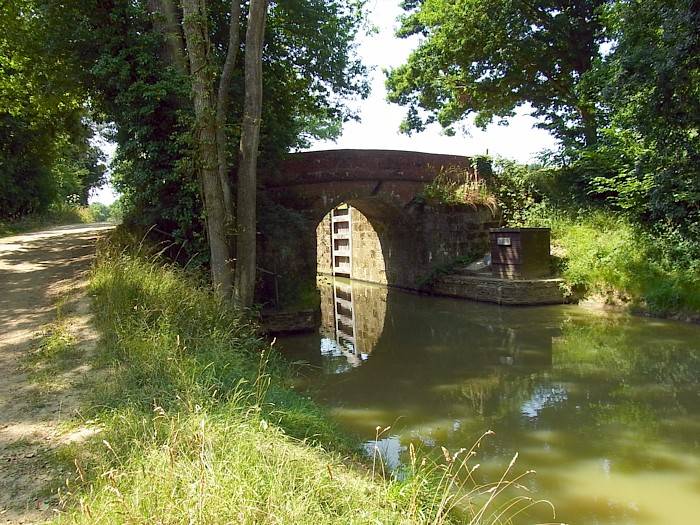
Bridge at Devil's Hole Lock 6, 2013
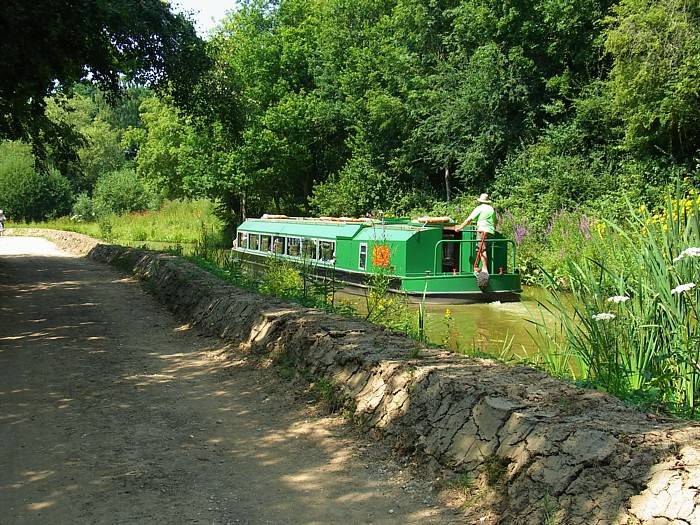
Trip Boat approaching Devil's Hole Lock 6, 2013
Looking towards Loxwood Lock 5A, 2013
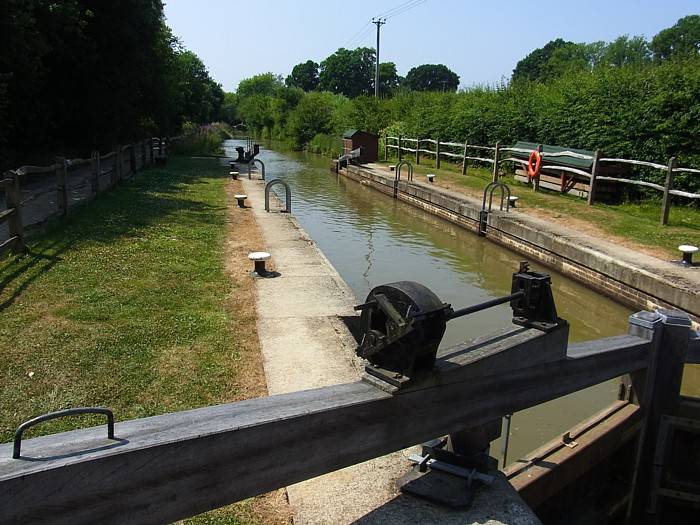
Loxwood Lock 5A, 2013
Loxwood Lock 5A and Bridge from below, 2013